Book Keeping Task/Reconciliation
From PCSAR
The auditors for the 2014-2015 year noted: "All cash accounts should be reconciled at the end of each Bank Statement. This includes Casino and GIC accounts. All accounts should have a print-out proving reconciliations for each account, attached to the appropriate Bank Statement."
During the reconciliation process, don't just check the amounts. Also check (and if necessary correct) the date of the transaction.
Contents |
[edit] Internal transfers
Sometimes you will see a pair of opposite transfers as uncleared transactions. These are internal transfers between the Fund-based subaccounts of a bank account. As such you will see both sides of the transaction when you are reconciling the account, the transfer from one subaccount and the transfer to the other subaccount. As they're internal transfers of the same bank account, they will not appear on the bank statement. Clear both sides of the internal transfer when you are reconciling the next statement.
[edit] Stale dated cheques
If you find any cheques that are older than 6 months prior to the date of the reconciliation, they are stale dated. See Stale cheques.
[edit] Editing after reconciliation
Under normal circumstances, once a transaction is reconciled, it should not be further edited. Doing so can cause serious problems where the reconciliation is no longer valid, and it will take a lot of work to fix the problem. This one one of the major problems found during the 2016-2017 audit.
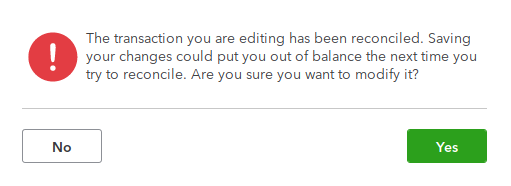
While editing (or deleting) an already reconciled transaction is occasionally necessary, it must be done carefully. When making the change QuickBooks will warn that you are changing a reconciled transaction.
If you see this warning, think! Do you really need to edit this transaction? It will cause you extra work.
If you do in fact need to edit it, how can you avoid this extra work in the future? Could you have done the edit before the reconciliation? Could you have caught the error during the reconciliation?
After making the change and before doing any other work in QuickBooks, you must make sure that the reconciliation is correct. If you do any other work in QuickBooks, you may have to delete all the work that you have done and start over.
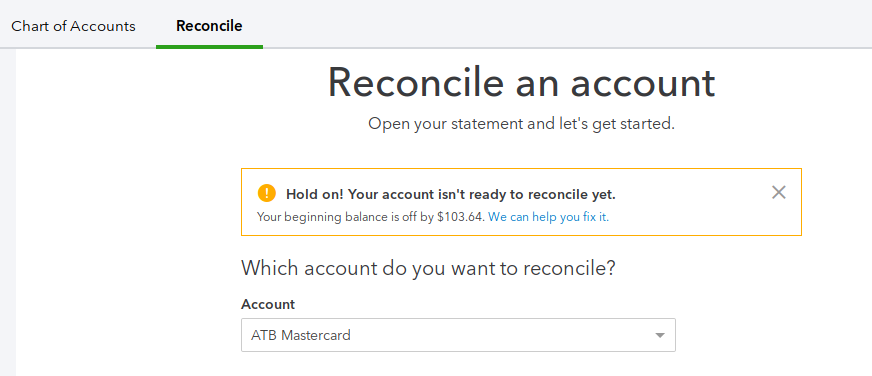
First, if you're lucky, the reconciled balance may still be correct despite your edit. You can check by selecting "Gear" > "Reconcile" and checking that the "Beginning balance" for the affected accounts match the closing balance on the last reconciled statements.
If the beginning balance is correct and you do not see the warning above, you can proceed with your work, skipping the steps below.
If this is not the case, you must fix the reconciliation problem.
Find the transaction that you edited. Choose "Accounting" > "Chart of Accounts". Find the account related. Select "Account History". Scroll to find the transaction.
The transaction should show that it's not reconciled (blank in the circle in the illustration).
Click on the transaction.
Click twice on the reconciliation spot, to turn it from blank to "R".
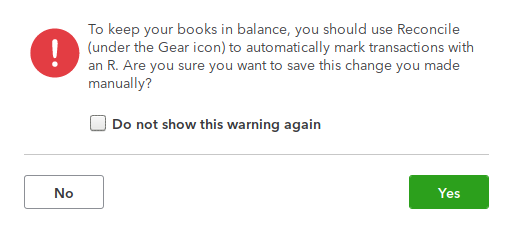
Click on "Save". You'll see a warning.
Click on "Yes".
Now the transaction should be reconciled again. Check to see the "R" on it.
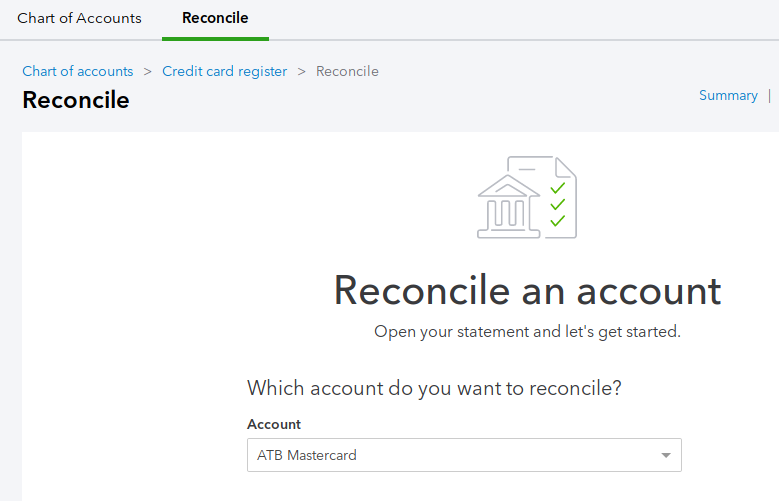
Finally, check to see if the overall reconciliation is correct. You can check by selecting "Gear" > "Reconcile" and checking that the "Beginning balance" for the affected accounts match the closing balance on the last reconciled statements.
You should not see a warning. If there is a warning, you are not done. You'll need to investigate further. Don't do any other work in Quick Books or you'll likely have to delete it all and start over.
[edit] Undo reconciliation
Under some circumstances it may be practical to use the special "undo reconciliation" feature.
This will likely only make sense if:
- several transactions were changed such that using the above procedure is onerous
- you have access to someone that has signed up to the Canadian QuickBooks Online Accountant (QBOA) feature
- that person's time is available within the timeframe you need
If not all of these things are true, you're better to use the procedure described above.
The person you are inviting to be an "Accountant" for the books, should have access to the Canadian QuickBooks Online Accountant feature, not the US version which is the default. See here.
If not already established invite the person with QBOA to be an "Accountant" for the books. Go to "Gear" > "Your Company" > "Manage Users" > "Accounting firms" > "Invite".
The person with QBOA will follow this procedure (cached).


